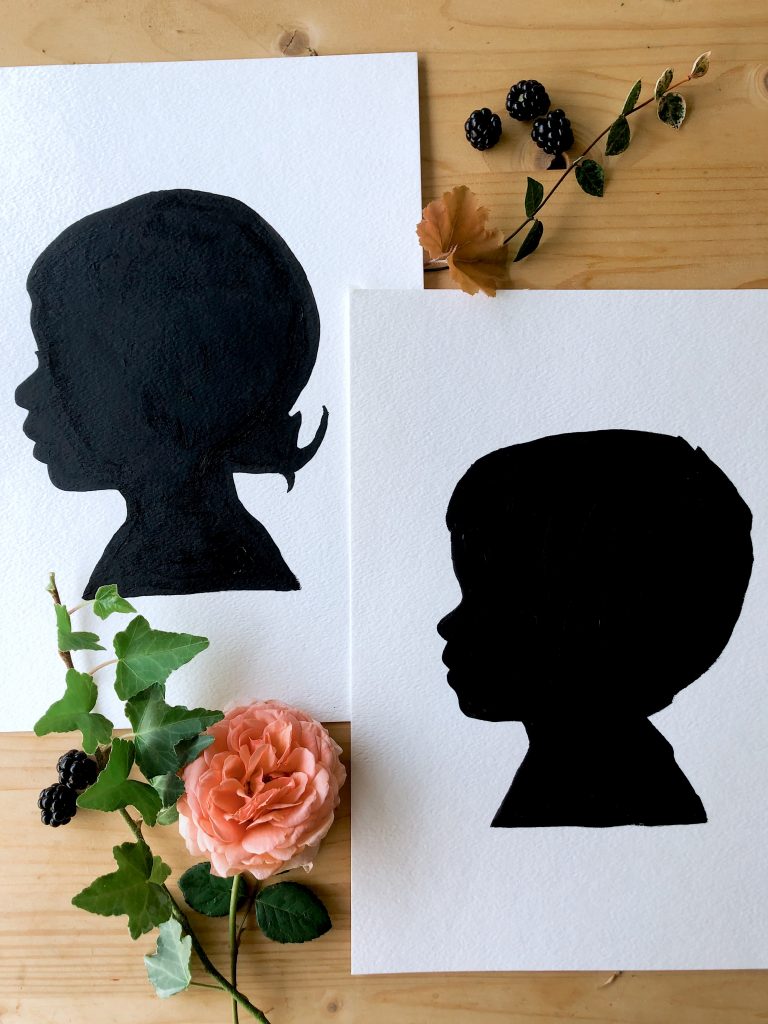
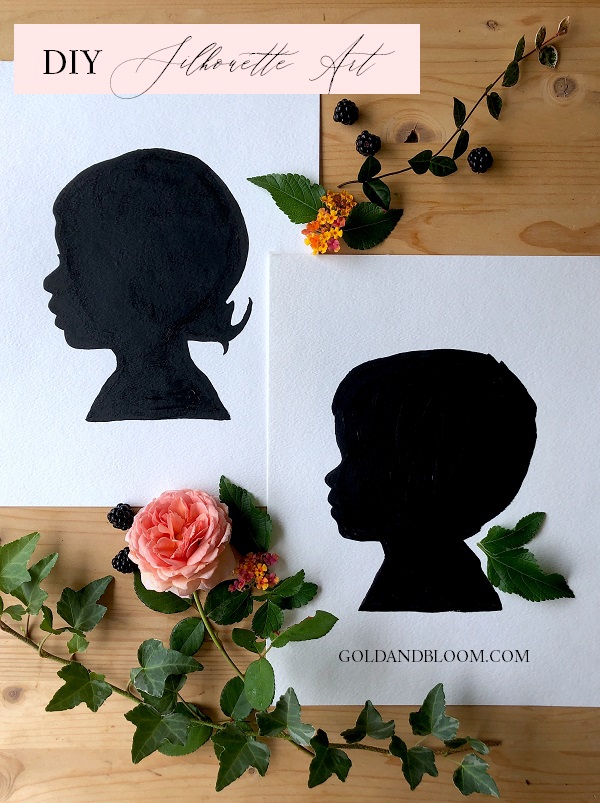
Earlier this week I shared photos from a quick silhouette project, and received so many comments and messages asking how to do it. So here we are! When it comes to projects nowadays, they have to be cheap and fast. I can’t spend hours or lots of money on materials for a DIY, and I’m sure you feel the same way. These silhouettes cost me 18 dollars (only had to buy the frames) and only 45 minutes. I’d call that a win!
I have wanted to do this for years, but couldn’t find the time. Plus I was nervous that they wouldn’t even turn out looking remotely like my children. I almost hired someone from Etsy to do them, but that was going to be much more than what we wanted to spend. So I took a risk, and I’m so glad that I did! There are some slight imperfections, but I’m okay with that. I actually think it makes it more personal.
Materials Needed:
Camera (I used my phone)
Printer
Regular printing paper
Scissors
Watercolor paper
Pencil
Black paint (I used acrylic paint, but watercolor would work nicely too)
Paintbrush
Water to wet the paintbrush
Picture frames (this is the only supply I had to purchase. $18 including shipping from Walmart!)

STEP 1: Take a profile picture of your wiggly babe. Make sure to get at their level or a little bit below their eye level so that you can get all of the curves of their face. They need to be looking straight ahead, so we turned on a movie that kept their attention.
STEP 2: Upload the pictures to a laptop/desktop and size them in a word document to where they are about the same size. It depends on how big you want these to be. Print the pictures.
STEP 3: Carefully and slowly cut out their silhouette paying attention to little curls and wisps that you want to keep.
STEP 4: Place the cut-out in the middle of a piece of watercolor paper. Using a pencil, trace carefully around the edge. Use your other hand to hold down the cut-out so it doesn’t move while you trace.
STEP 5: Paint! I used three sizes of paintbrushes. A medium one to go around the perimeter, a larger one to fill in, and a fine one for the tiniest details. If using acrylic paint, you will need to wet your paintbrush and dilute the paint slightly (not a lot!) for a smooth application.
Final Step: Let dry and frame!
My son, Cooper, immediately recognized which silhouette was his and which was his baby sister’s. That’s when I knew I did a good job. I’m going to cherish these forever. I can’t wait to hang these on our walls!
Will you make these for your children, grandchildren, or even your pets? Pin this photo to save for later when you’re ready!
DIY Silhouette Art
August 20, 2020


